Introduction
My project as aforementioned is an End-to-end user audio separation and music notes generation website. This will receive an mp3 file, separate into a music mp3 file and an vocal mp3 file, and then generate an mp4 video to represent the music notes (pitch) of the vocal (such as C, D, E, F, G, C#, D#). This will satisfy the needs of people who try to get the melody notes to play on the piano or want to make a beat for karaoke or separate the vocal for educational purpose.
Summary
Audio Separation Model
Introduction to Music Source Separation Models
Music source separation is a fundamental task in the field of audio signal processing, aiming to decompose a music track into its constituent sources, such as vocals, drums, bass, and other instruments. Over the years, various models and algorithms have been developed to tackle this problem, each leveraging different methodologies and representations of audio signals.
One of the earliest approaches in music source separation involved spectrogram-based methods. These methods operate by converting the audio signal into a time-frequency representation, where the signal’s amplitude and phase are represented as a spectrogram. A well-known model in this category is Open-Unmix, which utilizes a bidirectional Long Short-Term Memory (biLSTM) network to predict masks that are applied to the input spectrogram to isolate different sources. Another advanced spectrogram-based model is D3Net, which incorporates densely connected convolutional networks with dilated convolutions to capture a broader range of frequency details while maintaining computational efficiency. These models effectively separate music sources but often suffer from limitations related to phase reconstruction and the inability to capture long-range dependencies across the entire audio sequence.
In contrast, waveform-based models, such as Wave-U-Net and Demucs, operate directly on the raw audio waveform. Wave-U-Net, for example, uses an encoder-decoder architecture similar to traditional U-Nets, where the input waveform is progressively downsampled and then upsampled to generate separate source waveforms. Demucs extends this concept by introducing a bidirectional LSTM between the encoder and decoder, allowing the model to better capture temporal dependencies in the audio. These models are advantageous in that they avoid the need for phase reconstruction, but they can struggle with separating sources that overlap significantly in the time domain.
A hybrid approach has also emerged, combining both spectrogram and waveform representations to leverage the strengths of each domain. Hybrid Demucs, for instance, integrates both time and spectral domain processing in a double U-Net structure. It processes the audio in both domains and combines the outputs to improve separation quality. This model has set new benchmarks in music source separation but still faces challenges in efficiently modeling long-range dependencies and handling large-scale audio data.
Hybrid Transformer for Music Separation
Below is the summary of my understanding on the Hybrid Transformer for Music Separation:
The Hybrid Transformer Demucs (HT Demucs) represents a significant advancement in music source separation by integrating the power of transformers into the existing Hybrid Demucs framework. The motivation behind using transformers in this context lies in their ability to model long-range dependencies within sequences, a crucial feature when dealing with the complex and often overlapping sources in music.
HT Demucs replaces the innermost layers of the original Hybrid Demucs architecture with a cross-domain Transformer Encoder. This encoder operates in both the time and spectral domains, using self-attention mechanisms to focus on relevant parts of the audio signal within each domain and cross-attention to align and integrate information across the two domains. This dual-domain processing allows the model to simultaneously capture the fine-grained details in the spectral domain and the temporal dynamics in the waveform, leading to more accurate source separation.
One of the core strengths of the transformer in HT Demucs is its self-attention mechanism, which dynamically weighs the importance of different parts of the input sequence. In the context of music separation, this means that the model can focus on critical components of the audio that contribute to the identity of each source, such as the unique frequency patterns of vocals or the rhythmic structure of drums. Furthermore, the cross-attention mechanism ensures that these patterns are consistently aligned between the time and spectral representations, enhancing the model’s ability to separate sources that may overlap in one domain but are distinguishable in another.
HT Demucs also incorporates sparse attention kernels, which extend the model’s receptive field without excessively increasing computational costs. This allows the transformer to handle longer audio sequences more efficiently, making it possible to capture the global context of the music, which is essential for resolving ambiguities in source separation.
Overall, the Hybrid Transformer approach outperforms traditional convolutional and RNN-based models in music source separation, particularly when trained on large datasets. Its ability to model both short-term and long-term dependencies, combined with its flexible architecture that integrates multiple domains, makes it a powerful tool for achieving state-of-the-art results in this challenging task. By leveraging transformers, HT Demucs pushes the boundaries of what is possible in music source separation, offering a more nuanced and accurate separation of complex audio tracks.
Therefore I chose this model to apply into my project.
Music note generation
1. Preparing the Audio
The first step in this process is preparing the audio file. Music tracks are often stored in various formats like MP3 or WAV, but for detailed audio analysis, the WAV format is preferred due to its uncompressed nature, which retains all the nuances of the original sound. The program begins by checking if the vocal track is already in WAV format. If not, it converts the MP3 file into WAV, ensuring the highest fidelity for subsequent analysis.
However, raw audio files often contain periods of silence, particularly at the beginning or end of a track. These silences do not contribute to the musical content and can even disrupt the analysis. To address this, the program employs a silence removal process. This process is particularly sophisticated as it not only detects silence based on amplitude but also considers the duration of these silent periods.
Specifically, the program uses a silence threshold of -45 dB to identify sections of the audio that are quiet enough to be considered silent. If a segment of silence lasts longer than 100 milliseconds, the program marks it as a potential candidate for removal. However, to ensure the audio transitions smoothly, the program retains 50 milliseconds of silence before and after each detected silent period. This technique of retaining a small buffer of silence helps prevent abrupt changes that could make the edited audio sound unnatural.
Once the silent sections are identified and trimmed, the remaining segments of audio are recombined, resulting in a cleaned-up audio file that is devoid of unnecessary silences. This streamlined audio is now ready for detailed frequency analysis.
2. Analyzing the Frequency Content
With the clean audio file in hand, the program moves on to the core of its functionality: frequency analysis. The goal here is to identify which musical notes are being sung at each moment in time. To achieve this, the program uses a technique called the Fast Fourier Transform (FFT), a mathematical process that transforms a time-domain signal (like our audio) into a frequency-domain representation. In simpler terms, it takes the audio and breaks it down into the different pitches or frequencies that are present at any given time.
To perform this analysis accurately, the program processes the audio in small chunks, called “windows.” Each window represents a short period of time in the audio—just 0.25 seconds. By analyzing these windows individually, the program can capture the changes in frequency content as the song progresses. This is akin to taking a series of snapshots of the audio’s pitch over time.
One of the challenges in frequency analysis is ensuring that the FFT can accurately detect the relevant frequencies within each window. To help with this, the program applies a “windowing function,” which smooths out the edges of each window, reducing artifacts that might otherwise distort the analysis. The result is a cleaner, more accurate representation of the frequencies present in the audio.
After transforming the audio into the frequency domain, the program then identifies the most prominent frequencies within each window. These frequencies correspond to the musical notes being sung at that moment. By ranking these frequencies and associating them with their corresponding note names (like C, D#, F#), the program is able to create a list of the top notes for each segment of the audio.
3. Visualizing the Notes
Having identified the notes, the next step is to visualize them. The program generates a series of images, each representing the frequency content of the audio at a specific moment. These images are created using a plotting library that allows for detailed, high-resolution graphics. Each image shows the frequency spectrum, with annotations marking the identified notes.
The visual representation is crucial for understanding the musical content of the audio. The frequency spectrum is plotted on a graph where the horizontal axis represents frequency (and indirectly the musical note), and the vertical axis represents the magnitude or strength of that frequency. By annotating the graph with the note names, the program provides a clear, intuitive way to see which notes are being sung and how their intensity changes over time.
This visualization process is repeated for each window of the audio, resulting in a sequence of images that together capture the entire vocal performance in terms of its musical notes.
4. Creating the Video
The final step is to compile these images into a video. This video will synchronize the visual representation of the notes with the original audio, providing a dynamic and informative way to experience the vocal track. The program achieves this by assembling the sequence of images (each corresponding to a small segment of the audio) into a video file. It then adds the cleaned, trimmed audio back into the video, ensuring that the visuals and sound are perfectly aligned.
In this program, the video is generated at a frame rate of 30 frames per second (FPS). This means that for every second of audio, 30 individual frames are created, each showing the frequency content of the corresponding audio window. The FPS is a critical parameter as it determines how smooth the video playback will be and how closely the visuals match the timing of the audio. A higher FPS leads to a more fluid and precise representation, which is essential for accurately syncing the visual notes with the sung vocals.
This video is not just a simple playback of the audio; it’s a rich, interactive experience where the viewer can see the music as it happens. The notes appear and fade away in sync with the vocals, giving a clear, real-time picture of the song’s harmonic structure.
Conclusion
In essence, this program provides a powerful tool for musicians, educators, and audio engineers alike. By transforming an isolated vocal track into a synchronized visual representation of its notes, it allows for a deeper understanding and appreciation of the music. The careful attention to details—such as removing unnecessary silences, applying a precise silence threshold, analyzing the frequency content with a window size of 0.25 seconds, and generating the video at 30 FPS—ensures that the final output is both accurate and visually compelling. Whether you’re analyzing a song for its musical content, creating educational materials, or simply exploring the inner workings of a vocal performance, this program offers a detailed, methodical approach to uncovering the hidden layers of sound.
Website
1. Project Structure Overview
The extracted files indicate that this is a Django project. Django is a popular web framework for building web applications in Python. A typical Django project consists of several components that work together to serve web pages.
2. URLs and Views
In Django, the process of serving a webpage typically starts with a URL. The urls.py file in your project (found in the golden_ears directory) is responsible for mapping URLs to views.
- URLs Configuration (urls.py): This file contains a list of URL patterns, where each pattern is associated with a specific view. When a user accesses a URL in their browser, Django checks this file to determine which view should handle the request.
- Views (views.py): Views are Python functions (or classes) that handle the logic for a particular URL. They can interact with the database, process data, and ultimately decide what content to send back to the user. A view will often return an HTML page, but it can also return data in other formats like JSON.
3. Rendering HTML Files
Once a view has performed its logic, it often needs to render an HTML template to send back to the user. Django uses templates for this purpose.
- Templates: HTML files are typically stored in a templates directory within each app. A view uses the render function to load an HTML template, populate it with data (if necessary), and then send it as a response to the user.
4. Putting It All Together
Here’s a simplified flow of how a request is processed in your Django project:
- User Request: A user navigates to a specific URL in their browser.
- URL Resolution: Django checks the urls.py file to find a matching URL pattern. If it finds one, it directs the request to the corresponding view.
- View Logic: The view associated with the URL runs any necessary logic, such as querying the database or processing form data.
- Template Rendering: If the view needs to render an HTML page, it calls render, passing in the request, the path to the HTML template, and any context data.
- Response: The rendered HTML is sent back to the user’s browser, where it is displayed as a webpage.
Result
To access to the website of this project, please visit https://anthonytriet.com/golden-ears/, then scroll down and click on Beta server, you will be redirected to Golden Ears Website.


Below is my website home page

When you scroll down, you would firstly see the demo section, which shows the demo of how this system work.

The spectrum video is the music notes generation
Scrolling further down will be the section that you can upload your MP3 file to start the process.
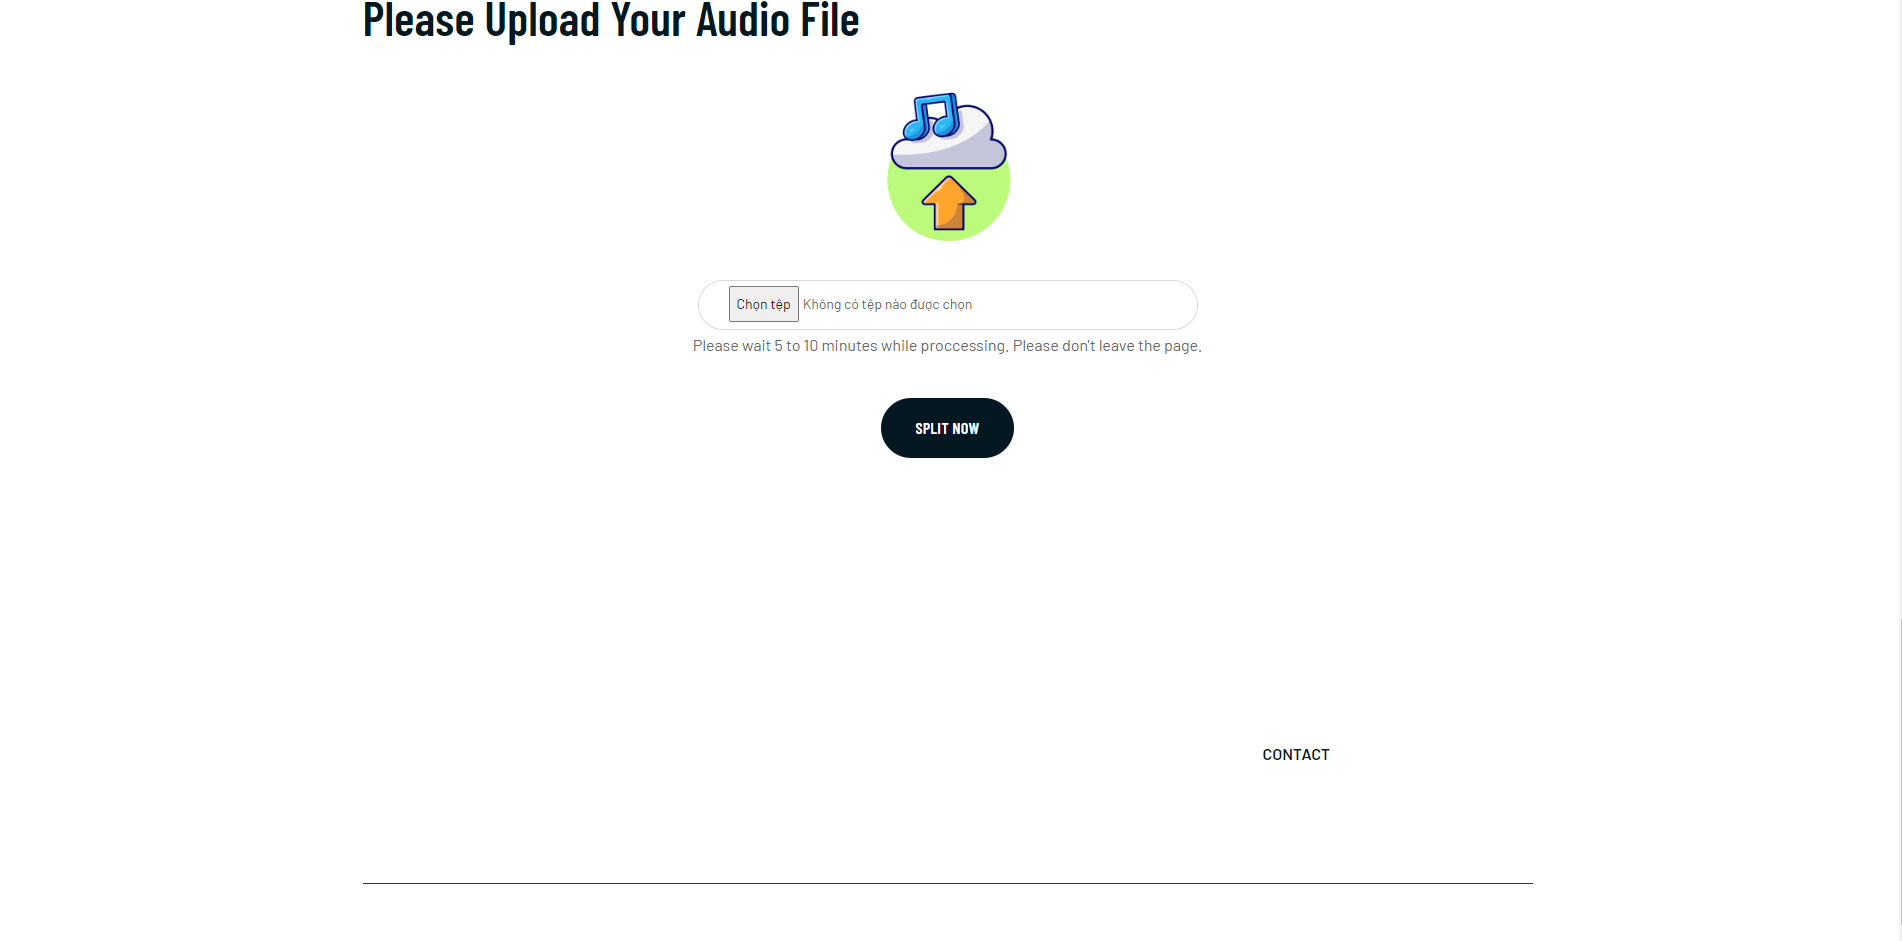
You can then upload your file. I will demo by uploading the song Boy Friend of Justin Bieber

You can then click on the button “Split now” to start the process
The website will work on it. With our current server it will take 5 to 10 minutes for a song that is 3-5-minute long.

You will see on the tab, the loading incon will spin for a while.
After it has finished, you will be redirected to the result page

On this page, you can listen to music or vocal of your song separately, you can also download them. If you want to see the music notes separation, you can click on the spectrum button. And you will be redirected to this:

If you select the full screen button, it will becom like this:

Above are the results of my project
Future work
In the end of this August, I will make this app available on multi-platforms, which are Microsoft Store, Appstore and Google play. This app and website will be host on a server with GPU so that it will take 1 minutes or less to complete the whole process.
For music generation, I will make it precise by filter out the notes that are under certain amplitude threshold, and programme an algorithm that capture the surrounding of a detected note to determine whether it is a note or a noise. I will also output a musescore that matches with the beat so that people can play it on different instruments.
Golden ears
End-to-end user audio separation and music notes generation website
Introduction
My project as aforementioned is an End-to-end user audio separation and music notes generation website. This will receive an mp3 file, separate into a music mp3 file and an vocal mp3 file, and then generate an mp4 video to represent the music notes (pitch) of the vocal (such as C, D, E, F, G, C#, D#). This will satisfy the needs of people who try to get the melody notes to play on the piano or want to make a beat for karaoke or separate the vocal for educational purpose.
Summary
Audio Separation Model
Introduction to Music Source Separation Models
Music source separation is a fundamental task in the field of audio signal processing, aiming to decompose a music track into its constituent sources, such as vocals, drums, bass, and other instruments. Over the years, various models and algorithms have been developed to tackle this problem, each leveraging different methodologies and representations of audio signals.
One of the earliest approaches in music source separation involved spectrogram-based methods. These methods operate by converting the audio signal into a time-frequency representation, where the signal’s amplitude and phase are represented as a spectrogram. A well-known model in this category is Open-Unmix, which utilizes a bidirectional Long Short-Term Memory (biLSTM) network to predict masks that are applied to the input spectrogram to isolate different sources. Another advanced spectrogram-based model is D3Net, which incorporates densely connected convolutional networks with dilated convolutions to capture a broader range of frequency details while maintaining computational efficiency. These models effectively separate music sources but often suffer from limitations related to phase reconstruction and the inability to capture long-range dependencies across the entire audio sequence.
In contrast, waveform-based models, such as Wave-U-Net and Demucs, operate directly on the raw audio waveform. Wave-U-Net, for example, uses an encoder-decoder architecture similar to traditional U-Nets, where the input waveform is progressively downsampled and then upsampled to generate separate source waveforms. Demucs extends this concept by introducing a bidirectional LSTM between the encoder and decoder, allowing the model to better capture temporal dependencies in the audio. These models are advantageous in that they avoid the need for phase reconstruction, but they can struggle with separating sources that overlap significantly in the time domain.
A hybrid approach has also emerged, combining both spectrogram and waveform representations to leverage the strengths of each domain. Hybrid Demucs, for instance, integrates both time and spectral domain processing in a double U-Net structure. It processes the audio in both domains and combines the outputs to improve separation quality. This model has set new benchmarks in music source separation but still faces challenges in efficiently modeling long-range dependencies and handling large-scale audio data.
Hybrid Transformer for Music Separation
Below is the summary of my understanding on the Hybrid Transformer for Music Separation:
The Hybrid Transformer Demucs (HT Demucs) represents a significant advancement in music source separation by integrating the power of transformers into the existing Hybrid Demucs framework. The motivation behind using transformers in this context lies in their ability to model long-range dependencies within sequences, a crucial feature when dealing with the complex and often overlapping sources in music.
HT Demucs replaces the innermost layers of the original Hybrid Demucs architecture with a cross-domain Transformer Encoder. This encoder operates in both the time and spectral domains, using self-attention mechanisms to focus on relevant parts of the audio signal within each domain and cross-attention to align and integrate information across the two domains. This dual-domain processing allows the model to simultaneously capture the fine-grained details in the spectral domain and the temporal dynamics in the waveform, leading to more accurate source separation.
One of the core strengths of the transformer in HT Demucs is its self-attention mechanism, which dynamically weighs the importance of different parts of the input sequence. In the context of music separation, this means that the model can focus on critical components of the audio that contribute to the identity of each source, such as the unique frequency patterns of vocals or the rhythmic structure of drums. Furthermore, the cross-attention mechanism ensures that these patterns are consistently aligned between the time and spectral representations, enhancing the model’s ability to separate sources that may overlap in one domain but are distinguishable in another.
HT Demucs also incorporates sparse attention kernels, which extend the model’s receptive field without excessively increasing computational costs. This allows the transformer to handle longer audio sequences more efficiently, making it possible to capture the global context of the music, which is essential for resolving ambiguities in source separation.
Overall, the Hybrid Transformer approach outperforms traditional convolutional and RNN-based models in music source separation, particularly when trained on large datasets. Its ability to model both short-term and long-term dependencies, combined with its flexible architecture that integrates multiple domains, makes it a powerful tool for achieving state-of-the-art results in this challenging task. By leveraging transformers, HT Demucs pushes the boundaries of what is possible in music source separation, offering a more nuanced and accurate separation of complex audio tracks.
Therefore I chose this model to apply into my project.
Music note generation
1. Preparing the Audio
The first step in this process is preparing the audio file. Music tracks are often stored in various formats like MP3 or WAV, but for detailed audio analysis, the WAV format is preferred due to its uncompressed nature, which retains all the nuances of the original sound. The program begins by checking if the vocal track is already in WAV format. If not, it converts the MP3 file into WAV, ensuring the highest fidelity for subsequent analysis.
However, raw audio files often contain periods of silence, particularly at the beginning or end of a track. These silences do not contribute to the musical content and can even disrupt the analysis. To address this, the program employs a silence removal process. This process is particularly sophisticated as it not only detects silence based on amplitude but also considers the duration of these silent periods.
Specifically, the program uses a silence threshold of -45 dB to identify sections of the audio that are quiet enough to be considered silent. If a segment of silence lasts longer than 100 milliseconds, the program marks it as a potential candidate for removal. However, to ensure the audio transitions smoothly, the program retains 50 milliseconds of silence before and after each detected silent period. This technique of retaining a small buffer of silence helps prevent abrupt changes that could make the edited audio sound unnatural.
Once the silent sections are identified and trimmed, the remaining segments of audio are recombined, resulting in a cleaned-up audio file that is devoid of unnecessary silences. This streamlined audio is now ready for detailed frequency analysis.
2. Analyzing the Frequency Content
With the clean audio file in hand, the program moves on to the core of its functionality: frequency analysis. The goal here is to identify which musical notes are being sung at each moment in time. To achieve this, the program uses a technique called the Fast Fourier Transform (FFT), a mathematical process that transforms a time-domain signal (like our audio) into a frequency-domain representation. In simpler terms, it takes the audio and breaks it down into the different pitches or frequencies that are present at any given time.
To perform this analysis accurately, the program processes the audio in small chunks, called “windows.” Each window represents a short period of time in the audio—just 0.25 seconds. By analyzing these windows individually, the program can capture the changes in frequency content as the song progresses. This is akin to taking a series of snapshots of the audio’s pitch over time.
One of the challenges in frequency analysis is ensuring that the FFT can accurately detect the relevant frequencies within each window. To help with this, the program applies a “windowing function,” which smooths out the edges of each window, reducing artifacts that might otherwise distort the analysis. The result is a cleaner, more accurate representation of the frequencies present in the audio.
After transforming the audio into the frequency domain, the program then identifies the most prominent frequencies within each window. These frequencies correspond to the musical notes being sung at that moment. By ranking these frequencies and associating them with their corresponding note names (like C, D#, F#), the program is able to create a list of the top notes for each segment of the audio.
3. Visualizing the Notes
Having identified the notes, the next step is to visualize them. The program generates a series of images, each representing the frequency content of the audio at a specific moment. These images are created using a plotting library that allows for detailed, high-resolution graphics. Each image shows the frequency spectrum, with annotations marking the identified notes.
The visual representation is crucial for understanding the musical content of the audio. The frequency spectrum is plotted on a graph where the horizontal axis represents frequency (and indirectly the musical note), and the vertical axis represents the magnitude or strength of that frequency. By annotating the graph with the note names, the program provides a clear, intuitive way to see which notes are being sung and how their intensity changes over time.
This visualization process is repeated for each window of the audio, resulting in a sequence of images that together capture the entire vocal performance in terms of its musical notes.
4. Creating the Video
The final step is to compile these images into a video. This video will synchronize the visual representation of the notes with the original audio, providing a dynamic and informative way to experience the vocal track. The program achieves this by assembling the sequence of images (each corresponding to a small segment of the audio) into a video file. It then adds the cleaned, trimmed audio back into the video, ensuring that the visuals and sound are perfectly aligned.
In this program, the video is generated at a frame rate of 30 frames per second (FPS). This means that for every second of audio, 30 individual frames are created, each showing the frequency content of the corresponding audio window. The FPS is a critical parameter as it determines how smooth the video playback will be and how closely the visuals match the timing of the audio. A higher FPS leads to a more fluid and precise representation, which is essential for accurately syncing the visual notes with the sung vocals.
This video is not just a simple playback of the audio; it’s a rich, interactive experience where the viewer can see the music as it happens. The notes appear and fade away in sync with the vocals, giving a clear, real-time picture of the song’s harmonic structure.
Conclusion
In essence, this program provides a powerful tool for musicians, educators, and audio engineers alike. By transforming an isolated vocal track into a synchronized visual representation of its notes, it allows for a deeper understanding and appreciation of the music. The careful attention to details—such as removing unnecessary silences, applying a precise silence threshold, analyzing the frequency content with a window size of 0.25 seconds, and generating the video at 30 FPS—ensures that the final output is both accurate and visually compelling. Whether you’re analyzing a song for its musical content, creating educational materials, or simply exploring the inner workings of a vocal performance, this program offers a detailed, methodical approach to uncovering the hidden layers of sound.
Website
1. Project Structure Overview
The extracted files indicate that this is a Django project. Django is a popular web framework for building web applications in Python. A typical Django project consists of several components that work together to serve web pages.
2. URLs and Views
In Django, the process of serving a webpage typically starts with a URL. The urls.py file in your project (found in the golden_ears directory) is responsible for mapping URLs to views.
- URLs Configuration (urls.py): This file contains a list of URL patterns, where each pattern is associated with a specific view. When a user accesses a URL in their browser, Django checks this file to determine which view should handle the request.
- Views (views.py): Views are Python functions (or classes) that handle the logic for a particular URL. They can interact with the database, process data, and ultimately decide what content to send back to the user. A view will often return an HTML page, but it can also return data in other formats like JSON.
3. Rendering HTML Files
Once a view has performed its logic, it often needs to render an HTML template to send back to the user. Django uses templates for this purpose.
- Templates: HTML files are typically stored in a templates directory within each app. A view uses the render function to load an HTML template, populate it with data (if necessary), and then send it as a response to the user.
4. Putting It All Together
Here’s a simplified flow of how a request is processed in your Django project:
- User Request: A user navigates to a specific URL in their browser.
- URL Resolution: Django checks the urls.py file to find a matching URL pattern. If it finds one, it directs the request to the corresponding view.
- View Logic: The view associated with the URL runs any necessary logic, such as querying the database or processing form data.
- Template Rendering: If the view needs to render an HTML page, it calls render, passing in the request, the path to the HTML template, and any context data.
- Response: The rendered HTML is sent back to the user’s browser, where it is displayed as a webpage.
Result
To access to the website of this project, please visit https://anthonytriet.com/golden-ears/, then scroll down and click on Beta server, you will be redirected to Golden Ears Website.


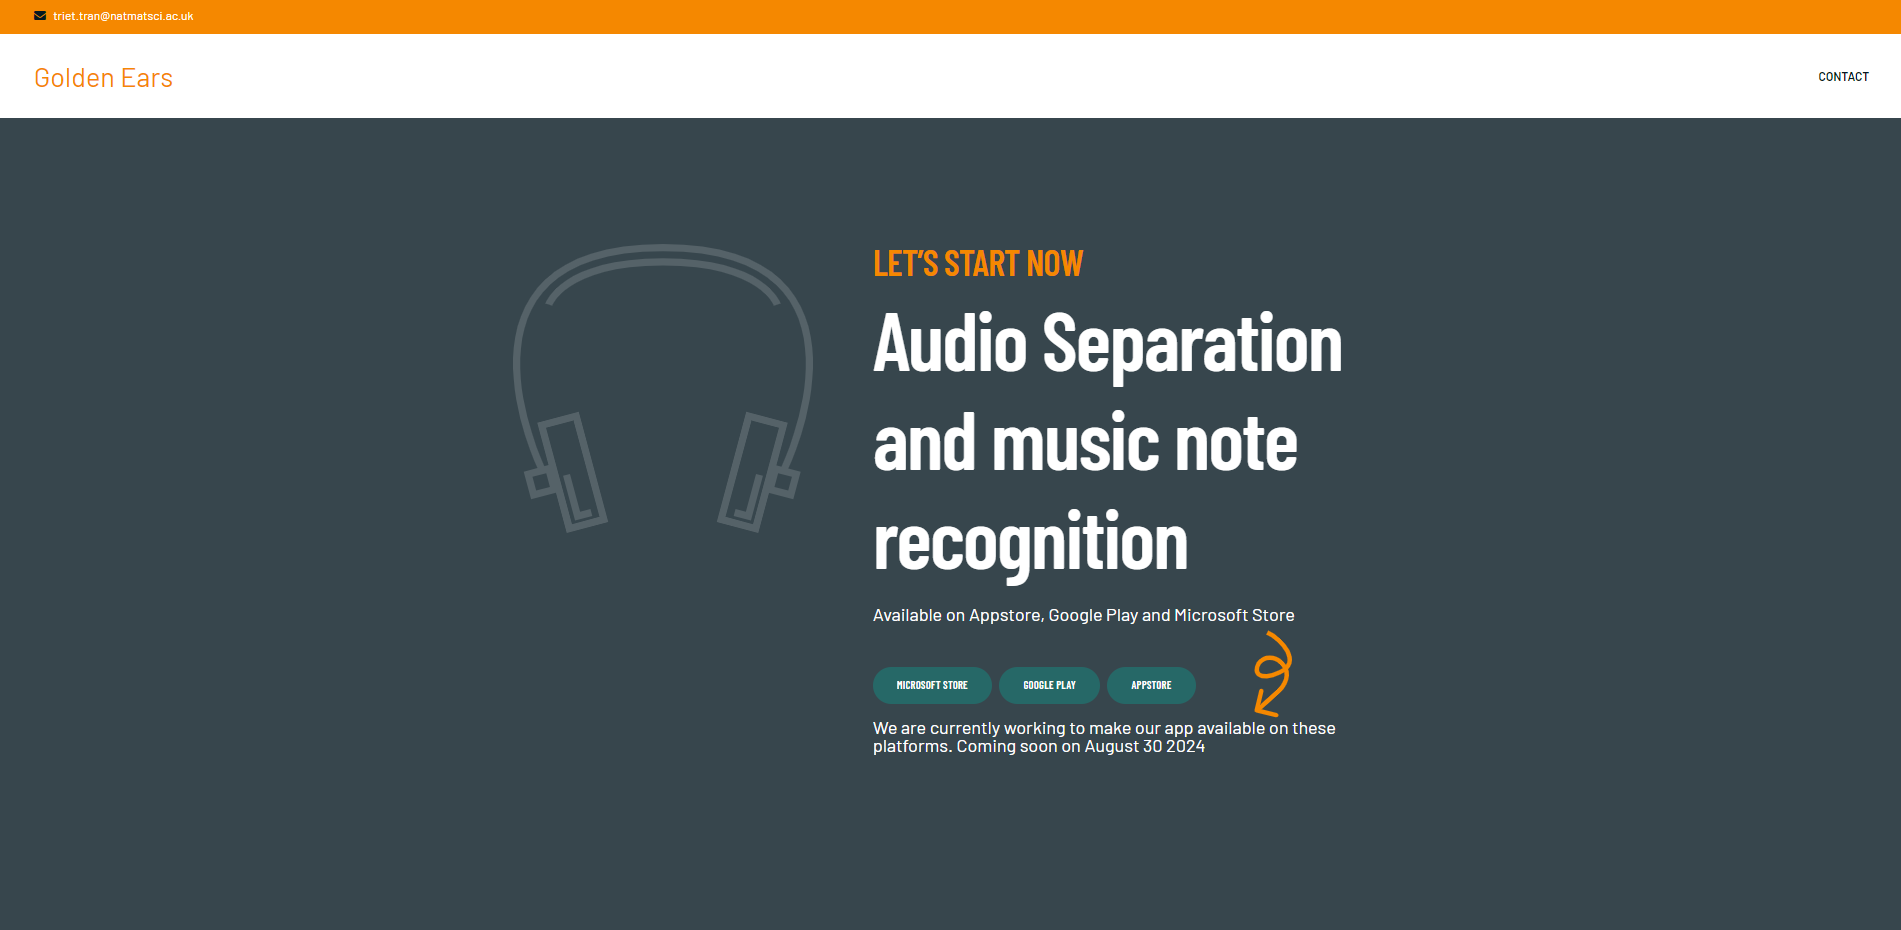
Below is my website home page
When you scroll down, you would firstly see the demo section, which shows the demo of how this system work.

The spectrum video is the music notes generation
Scrolling further down will be the section that you can upload your MP3 file to start the process.

You can then upload your file. I will demo by uploading the song Boy Friend of Justin Bieber
You can then click on the button “Split now” to start the process
The website will work on it. With our current server it will take 5 to 10 minutes for a song that is 3-5-minute long.

You will see on the tab, the loading incon will spin for a while.
After it has finished, you will be redirected to the result page

On this page, you can listen to music or vocal of your song separately, you can also download them. If you want to see the music notes separation, you can click on the spectrum button. And you will be redirected to this:

If you select the full screen button, it will becom like this:

Above are the results of my project
Future work
In the end of this August, I will make this app available on multi-platforms, which are Microsoft Store, Appstore and Google play. This app and website will be host on a server with GPU so that it will take 1 minutes or less to complete the whole process.
For music generation, I will make it precise by filter out the notes that are under certain amplitude threshold, and programme an algorithm that capture the surrounding of a detected note to determine whether it is a note or a noise. I will also output a musescore that matches with the beat so that people can play it on different instruments.